How To Set Up a Tent In 7 Simple Steps
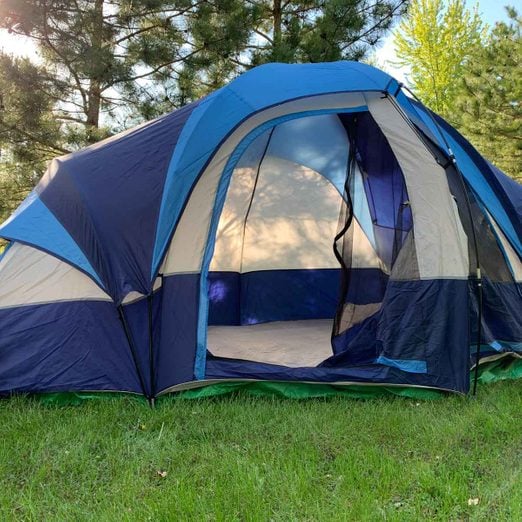
Simple tent designs with built in fasteners and color coded slots make setting up The Camp Wolf Tents a breeze.
Intro:
If this is your first time camping or you haven't been camping in years, we highly recommend setting up the tent in your yard, or a nearby park for a test run so thing go smoothly and everyone's comfortable, and also doing a backyard camp night is a ton of fun. This will put you on the track for success if your setting up after dark or in bad weather.
Make sure you have all the gear you need. Consider extra gear like a rug for shoes, an extra lantern or flashlight.
The Camp Wolf package you choose will have a tent that will accommodate you perfectly with all of the necessary items for set up. Setting up with a partner is easiest, but not necessary.
- Rubber mallet (optional)
- Stakes
- Tarp or footprint
- Tent
Step-by-step guide (7)
Camp Site Selection
- Select an established Campsite at a Campground for the best possible experience with restrooms or whatever facilities work best for your Camp Out.
- Choose a flat, vegetation free area if possible, clear of any small stones or rocks, being careful to disturb the natural habitat as little as possible.
- Avoid any hazards such as damaged trees or under rocks, but in the safest manner possible use natural weather resistance, e.g, out of wind if cold, utilize breeze if hot. Always seek info from any local Park or Campsite Rangers for advice.
- Set up with plenty of sunlight, you will have difficulty in the Dark.
Lay the Base
- Gather your tent, poles, rainfly and footprint or tarp.
- Keep everything well organized.
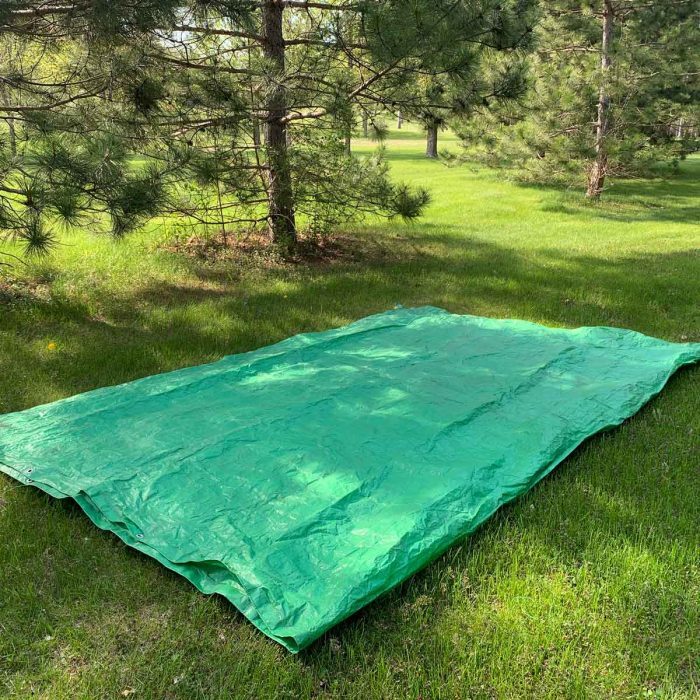
- Lay down the footprint.
- It may be wider or longer than your tent, but excess material can be folded under after setup.
Spread Out and Stake Your Tent
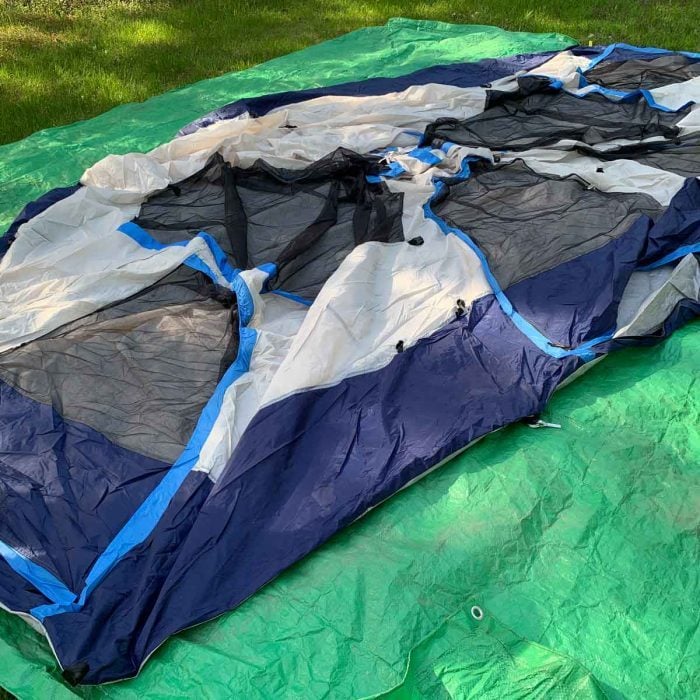
- With two people, stretch the tent base across the footprint or tarp.
- Pull the tent tight and stake two opposing corners, to firm up the floor of your tent.
- Drive stakes straight into the ground, hook facing out, and pound it completely down with your mallet.
- If the stakes don't push into the soil easily, use the sole of your boot, the flat side of a log or the dull edge of a camping hatchet.
- Pull out the remaining corners and stake them, as well.
The Camp Wolf Pro tip: We've packed you a few extra stakes in case one breaks or you lose some.
Add the Poles
- Unfold pole segments, which are typically connected by a bungee cord easy to click together.
- Insert the longest (or main) poles into the sleeves on the outside of the tent.
- Typically these will cross at the tent's peak, though tent styles vary.
- Slide them carefully so nothing snags.
- Repeat with any additional poles.
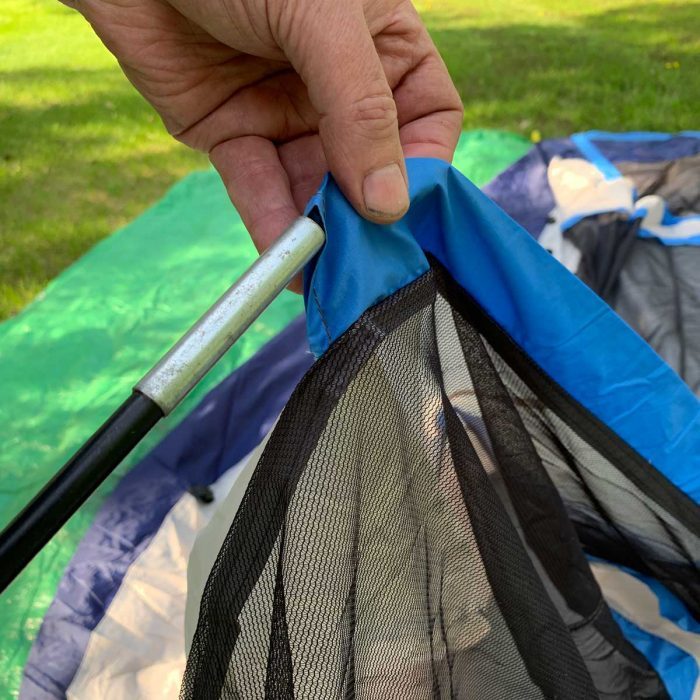
Raise the Tent
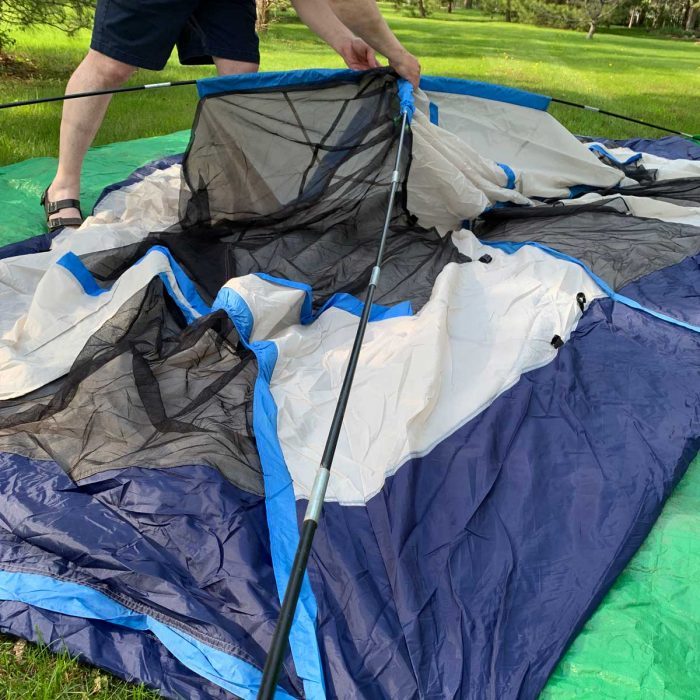
- Begin elevating the tent by slowly raising one of the main tent poles. Each end of the pole should fit onto a fastener or pocket along the exterior of your tent, near the ground.
- Repeat with the cross pole, then the additional support poles until the tent is fully popped up and accessible.
- Check for any additional fasteners or clips alongside the poles that secure it to the outside of your tent.
Step 6
Add the Rainfly
- Drape the Rainfly across the top of your tent.
- Like an umbrella, it helps divert rainwater from the ceiling of your tent and keep you dry, even during lengthy showers or storms.
- If your fly also requires a pole, insert that first.
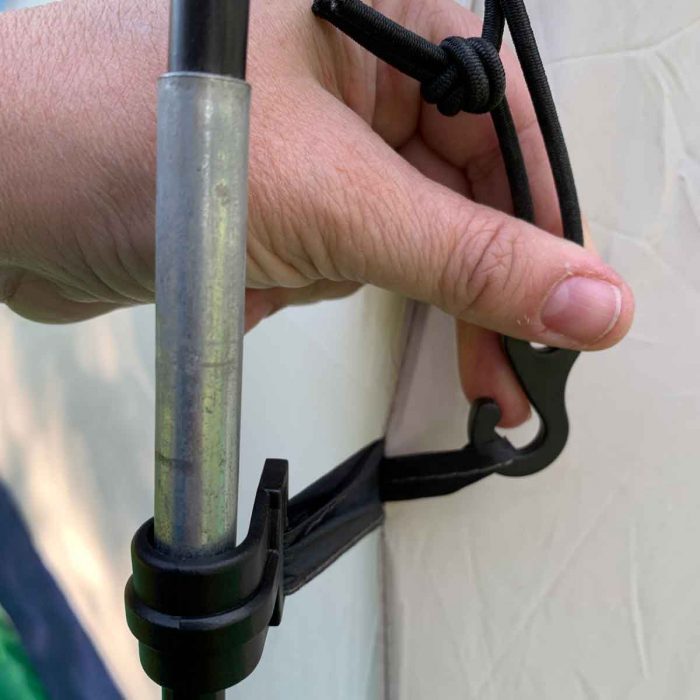
- Look for fasteners on the outside of the tent to hold the fly in place. They may be along or at the base of the main support poles.
Add Final Stakes and Supports
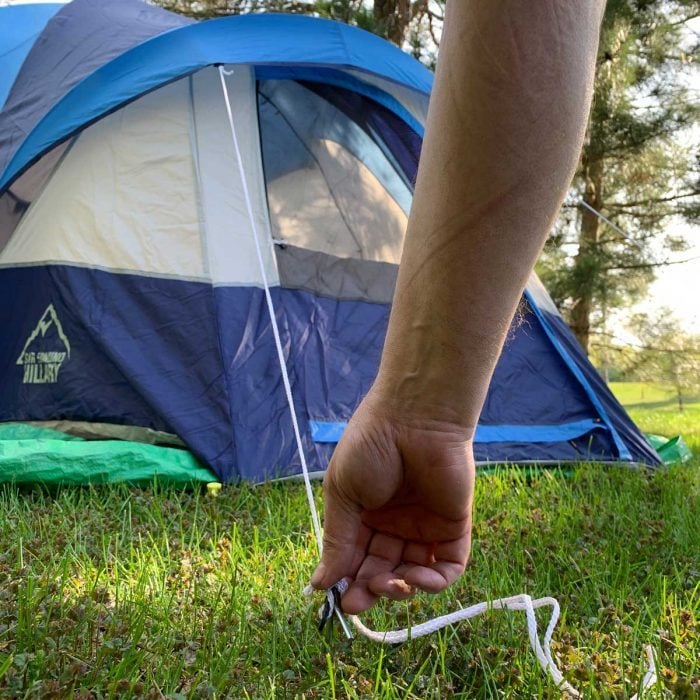
- Stake any remaining edges of your tent. Secure any ropes that may need staking to help keep the tent or rainfly taut.
- Consider campsite traffic flow when deciding exactly where to stake your fly, to avoid trips and falls.
